
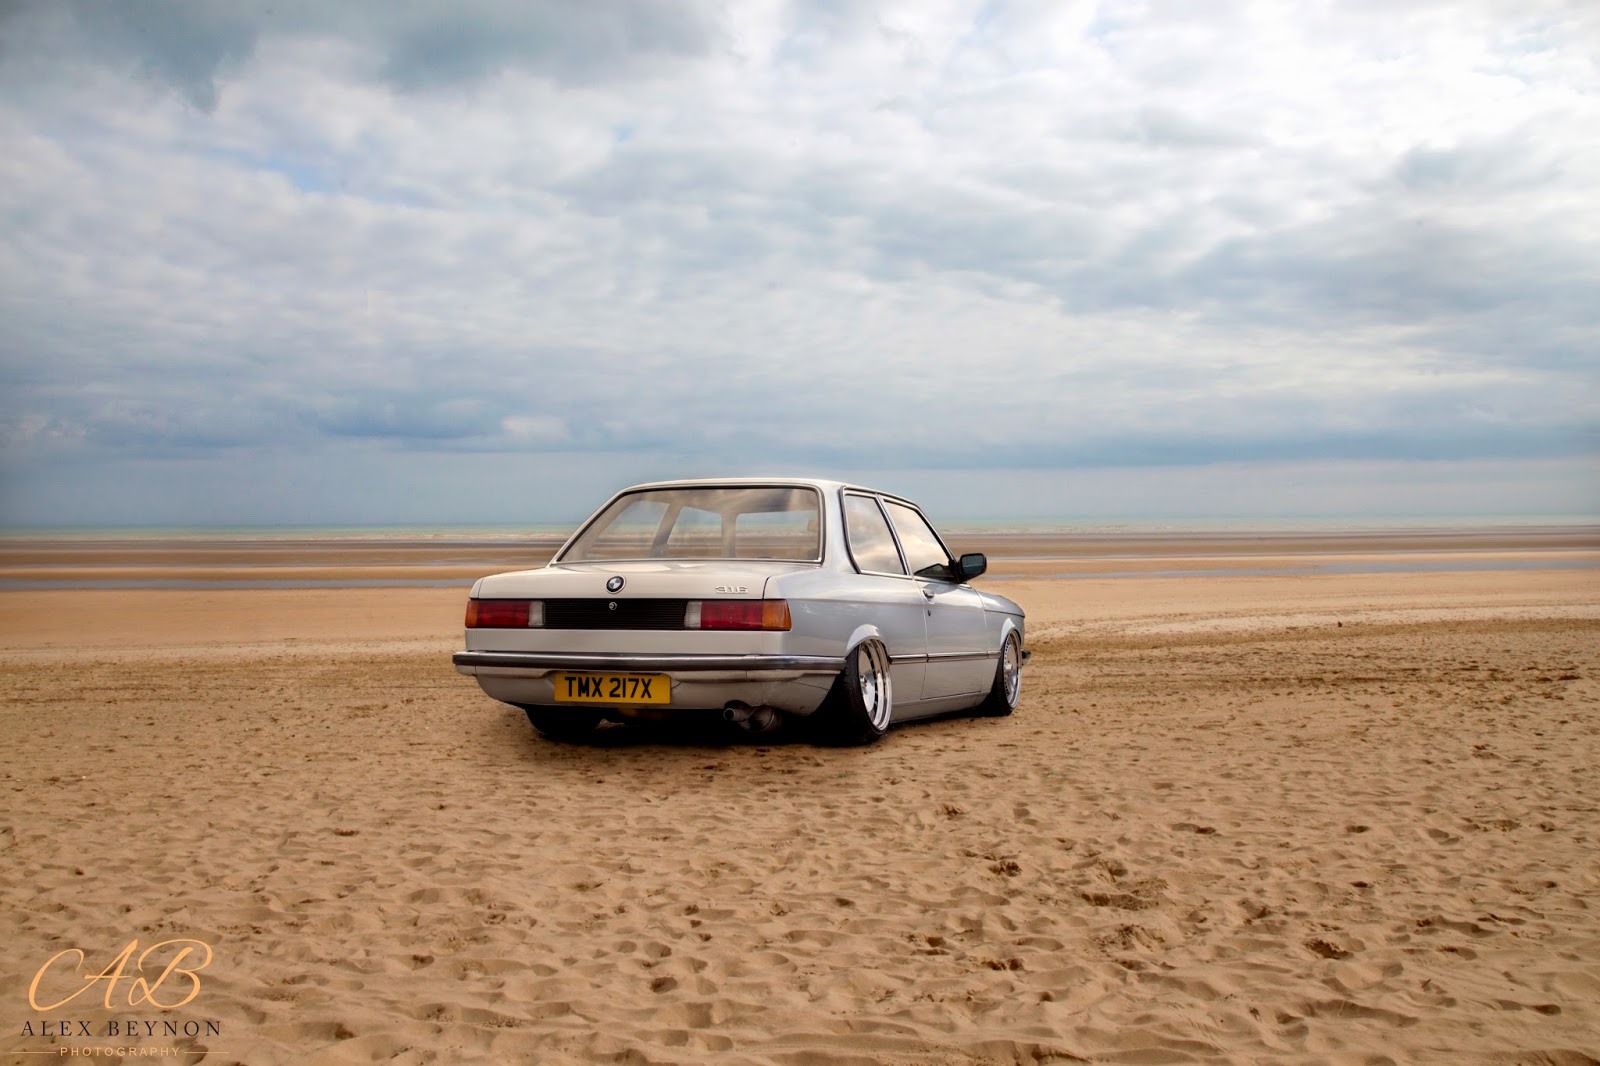
BMW On The Beach


Printscreens:

1. After opening the background beach image and cloned out any unwanted marks or objects.

2. I added the car to the beach image, then masked out the unwanted areas (selected). I also horizontally flipped the car as it worked better with the ground.

3. As I flipped the car image it meant I needed to flip the number plate and car number back. I also added a layer where I added more shadow with a low opacity dark brush.

4. Using a curves adjustment layer with the curve right down, I added shadow to the image. This was done by masking out the whole image, then bringing back the areas where shadow was needed.

5. I then did the same for highlights, this time the curve goes up in the middle, to brighten the image.

6. Lastly I added contrast and brightened the image a little with a levels adjustment layer. To add contrast I bring in the black marker and the white marker a small amount. Then I brightened the image slightly by moving the central marker to the left.
I have explained this very briefly as I know if I explained every tool and technique it would be a very long post! This is just a run down of the layers on the final image.